
Speed up your Overleaf workflow: fast diagramming with Vexlio
Fast technical diagramming with Vexlio and Overleaf

Overleaf is a popular online collaborative LaTeX editor used widely in industry and academia. In this article we'll learn how to streamline your technical diagram workflow using Vexlio, making it easy to edit diagrams and insert them into your Overleaf documents with minimal effort. Our goal here is efficiency, reducing steps so you can concentrate on your content.
Introduction
While the textual content of papers usually forms the bulk of the work, high-quality diagrams and illustrations are just as important for conveying complex ideas clearly. Well-designed visuals can make mathematical concepts, algorithms, or architecture descriptions far more accessible. A streamlined workflow for creating and integrating these diagrams will save you time and make it easier to produce high-quality results through rapid design iteration.

Editing a diagram with LaTeX in Vexlio
When creating visuals for your paper, rather than spending a lot of time up front tweaking in a diagram editor like Vexlio, it's important to view them in your actual document to ensure the appearance matches what you want, considering things like sizing, text legibility, color schemes, etc. Often, what looks good in a diagram editor may look out of place or mismatched when viewed contextually in your actual document.
In this article we'll create a few example diagrams in Vexlio, and show how to quickly transfer them directly into your Overleaf document.
Setting up your workflow
Open a new or existing LaTeX document in your Overleaf account. In a separate tab or window, create a new empty diagram in Vexlio and name it "Figures." As the name suggests, rather than separate documents for each diagram we'll be placing all figures for the paper in the same document. Eventually for organization or reuse you may want to save the diagrams into separate documents, but for now having all your work in one place will make the next steps easier.
In Overleaf, place your cursor near the content where the figure should be displayed. Due to LaTeX's automatic layout, the figure may end up rendered in a different place than you expect, but for now we can ignore that.
Now, switch back to Vexlio and we'll make the first diagram.
Workflow for fast diagram creation
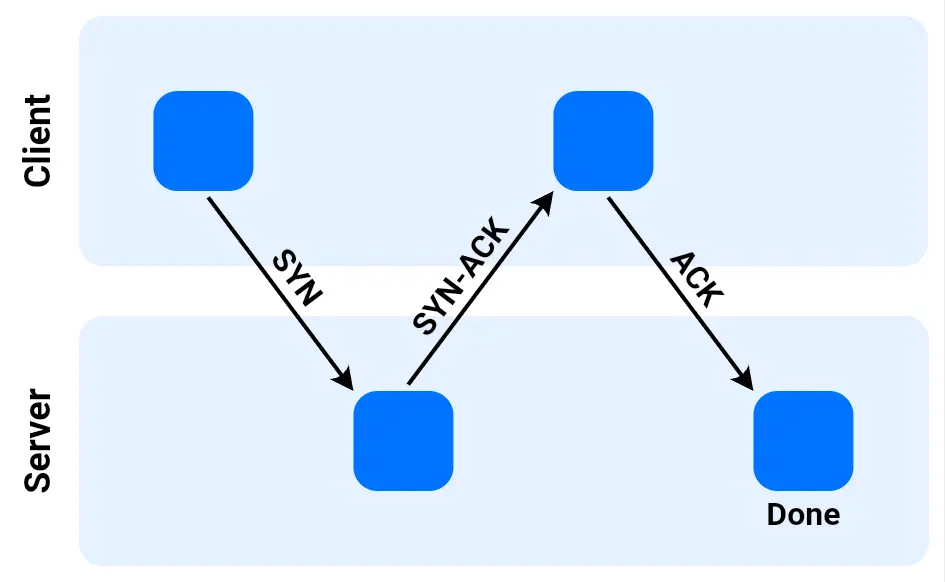
Create the first figure, and select all of its content, including text, arrows, shapes, equations, and any other objects you want in the diagram. Here's our figure:

Use Vexlio's Copy as PNG feature by using the keyboard shortcut Ctrl-Shift-C (or macOS ⌘-Shift-C). This will copy whatever you have selected in Vexlio to the system clipboard as a PNG image file.
Switch back to Overleaf and press Ctrl/⌘-V to paste. Overleaf will pop up a dialog to confirm; leave all the settings as the default, including keeping the default filename "image.png," and click the "Insert Figure" button. Press Ctrl/⌘-S to save, triggering Overleaf to re-render the document. Now we can see our figure for the first time in place:

One important thing to note is that we can use the exact same LaTeX in Vexlio as a part of the diagram. This ensures an exact visual match between the formula rendered in the body of the paper, and the formula in the diagram. In Vexlio, the LaTeX is simply added in the sidebar when creating an equation:

Back to our exercise, by examining the diagram in context, we can see that the stencil diagram is a little hard to make out. We could enlarge it, or darken the lines, but one tool for visual clarity one should think of first is adding color. Switch back to Vexlio, add some color, copy as PNG again, and then come back to Overleaf.
This time, first select the LaTeX \begin{figure}...\end{figure} region that Overleaf added when we pasted
the figure the first time. Keeping that LaTeX selected, press Ctrl/⌘-V again. Again keep all the
defaults and click Insert Figure, confirming that you want to overwrite the image. Press Ctrl/⌘-S
again, and we can see the diagram in context now much better: it draws the eye, and the restrained use of color has
clarified the important pieces of the diagram visually. Increase the size slightly, and we arrive at:

It looks great! The diagram is clear, visually pleasing with a small amount of color, and the embedded LaTeX makes it look like a cohesive part of the whole work.
Now that we're happy with the first figure, rename the "image.png" file in Overleaf to something more descriptive like "figure1.png". It's important to rename the file at this point, because when you repeat the workflow, you don't want to overwrite previous figures.
Repeat this process for the rest of the figures you need in your paper.
Finalizing the result
Once you're happy with the appearance of the diagrams in your paper, you may wish to replace them with higher-quality PDF versions. Using Vexlio, this is easy:
-
Open your "Figures" document in Vexlio again. Select the first figure, and this time instead of copying to PNG, we'll export to PDF. From the Main Menu choose "Export", or use the keyboard shortcut Ctrl/⌘-Shift-E.
-
In the Export window, give the file a descriptive name like "figure1". In the file format dropdown menu (labeled ".png" by default), select PDF. Then, in the Options section, choose "Selected objects only" from the Content dropdown menu. This content option ensures that you'll export only the selected objects, not the whole document:

Click the Export button, which will download "figure1.pdf" to your Downloads directory.
-
Back in Overleaf, simply drag and drop "figure1.pdf" into your project. Find the
\begin{figure}section for Figure 1, and change the path from "figure1.png" to "figure1.pdf".
You're all set!
Best practices for an efficient workflow
As an overview of the process we've learned, here are the important points to remember:
- Keep everything in one document initially. Organize later, but having a single document with all the figures will make things quicker.
- Keep the default name of "image.png" in Overleaf. This allows you to save time when repeatedly replacing the same figure until it looks good.
- Use Vexlio's "Copy to PNG" shortcut. Skipping a file download and upload process tightens your feedback loop.
- Rename once finished tweaking. Prevent overwriting of the figure when ready by renaming it from the default to something else.
- (Optional) Export diagram to PDF at the end. PDF diagrams will get you higher-quality results especially for content like posters that will print at a larger size.
Conclusion
By integrating Vexlio with Overleaf using its built-in LaTeX equation editor and the Copy Selected Objects to PNG feature, you can speed up your workflow for technical diagramming. This method eliminates unnecessary file handling, keeps your diagrams editable, and ensures high-quality results with minimal effort. Whether you're working on research papers, reports, or presentations, this streamlined approach lets you focus more on your content and less on tedious process. Try it out and see how much time you can save!
You can read more about LaTeX support in Vexlio in our previous blog post: go to post.
Or, read more about why you should care more about your diagrams in general: go to post.
Just need a quick way to render equations to PNG directly? Check out our free online LaTeX equation editor.

Launches in your browser, no sign in required.
Latest Articles from Vexlio

Making diagrams with syntax-highlighted code snippets
See how you can easily add syntax-highlighted code blocks to your diagrams.
Five simple things that will immediately improve your diagrams
Learn 5 simple and practical tips to improve your diagrams.